 ( 230 ) 31-Jan-2014
The heel cap is made out of Ebony.
( 230 ) 31-Jan-2014
The heel cap is made out of Ebony.
 ( 231 ) 31-Jan-2014
I glue it on a little oversized and then sand it into shape.
 ( 232 ) 31-Jan-2014
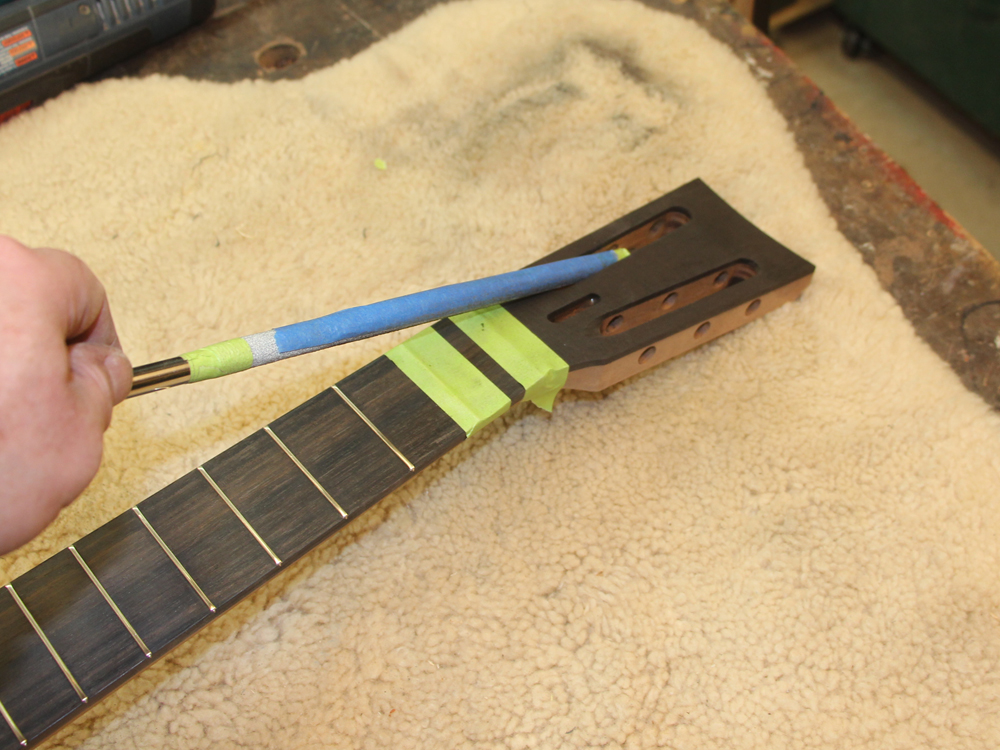
The nut side of the slots gets tapered with a sanding bar.
 ( 233 ) 31-Jan-2014
This allows free movement of the stings.
 ( 234 ) 31-Jan-2014
I used the CNC Router to make the channel for the headstock inlay.
 ( 235 ) 31-Jan-2014
The business end of the router with a tiny little router bit.
 ( 236 ) 31-Jan-2014
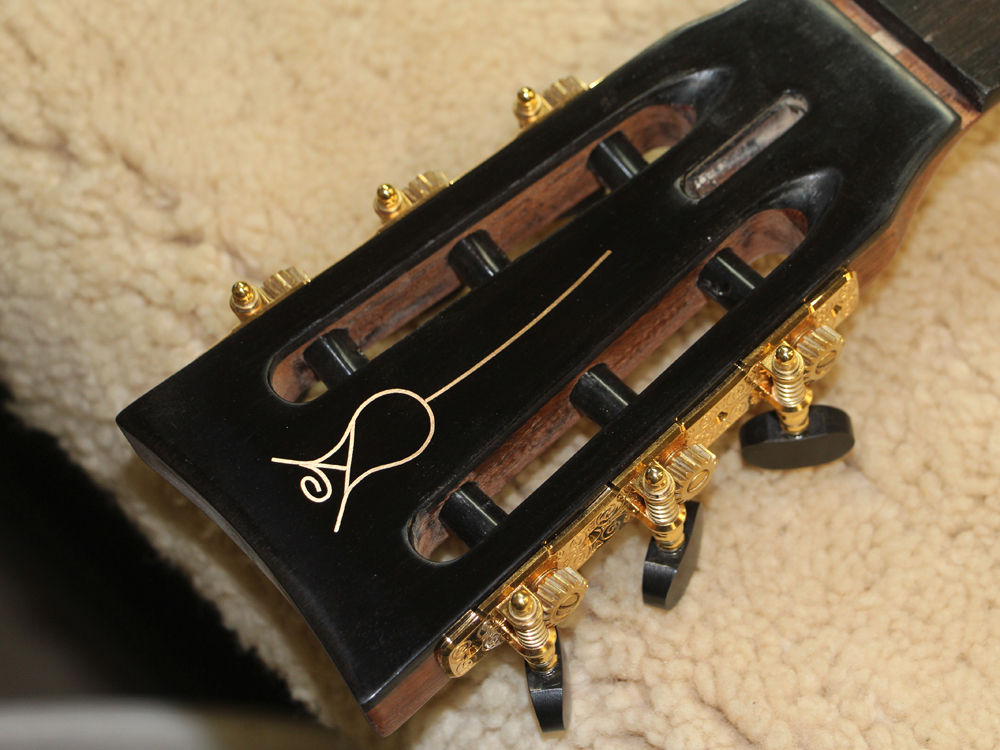
A nice accurate/precise channel.
 ( 237 ) 31-Jan-2014
Here is the set of tools I use to inlay the gold wire that makes the Portland Guitar Rose.
 ( 238 ) 31-Jan-2014
I leave the wire a little proud...
 ( 239 ) 31-Jan-2014
and sand it level with the surface.
 ( 240 ) 31-Jan-2014
After filling the pores in the wood with epoxy all the surfaces get leveled and it is ready to get the finishing lacquer. I use a water bourne polyurethane. I spray it on with lots of very thin layers. When the finish has cured I polish it with a progressively finer set of sanding pads. This whole process takes about two weeks. The balloon in the sound hole keeps the spray out of the insides.
 ( 241 ) 31-Jan-2014
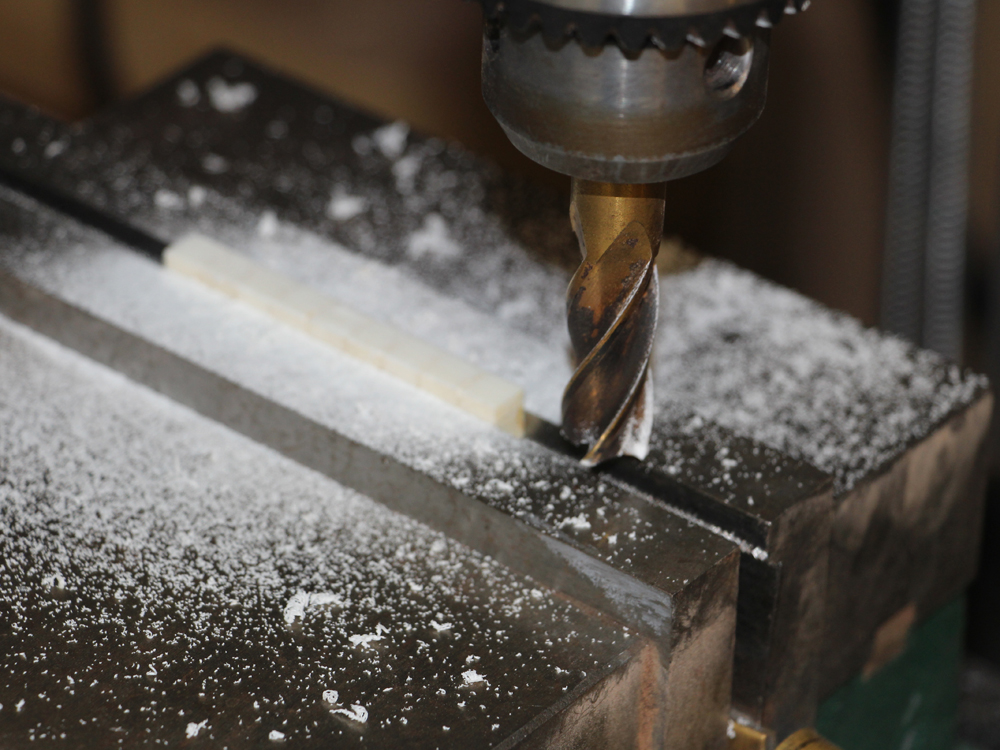
While the finish on the guitar cures... the longer the better... I start work on the bridge. Here I am using the milling machine to rough out the bridge blank.
 ( 242 ) 31-Jan-2014
Drilling the holes for the strings.
 ( 243 ) 31-Jan-2014
And a little complimentary inlay just because.
 ( 244 ) 31-Jan-2014
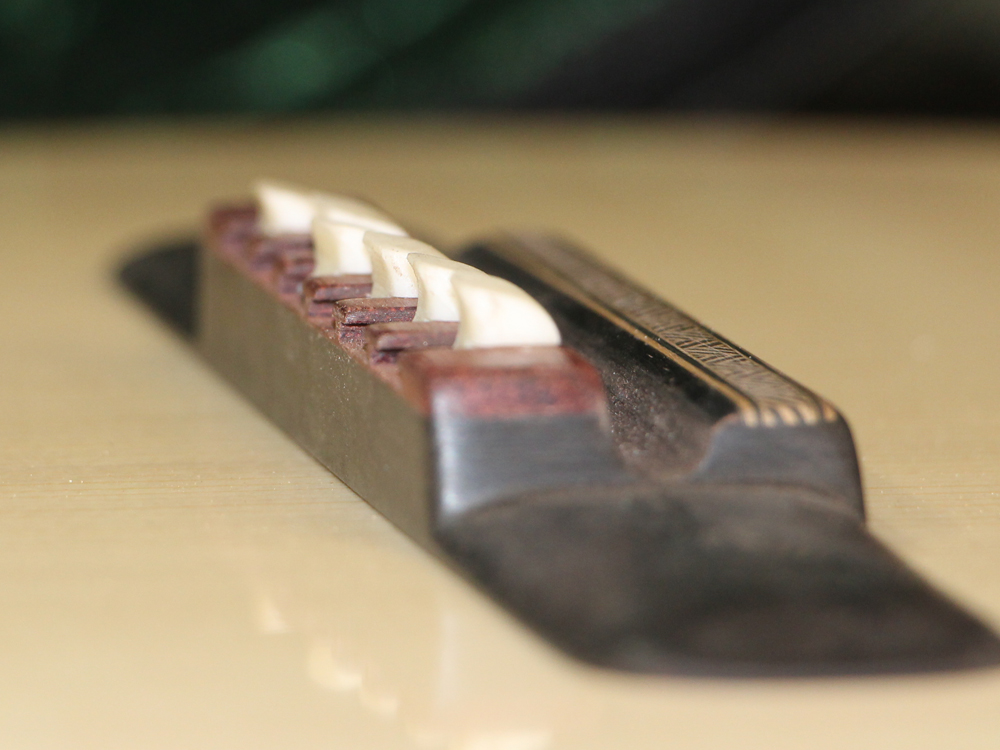
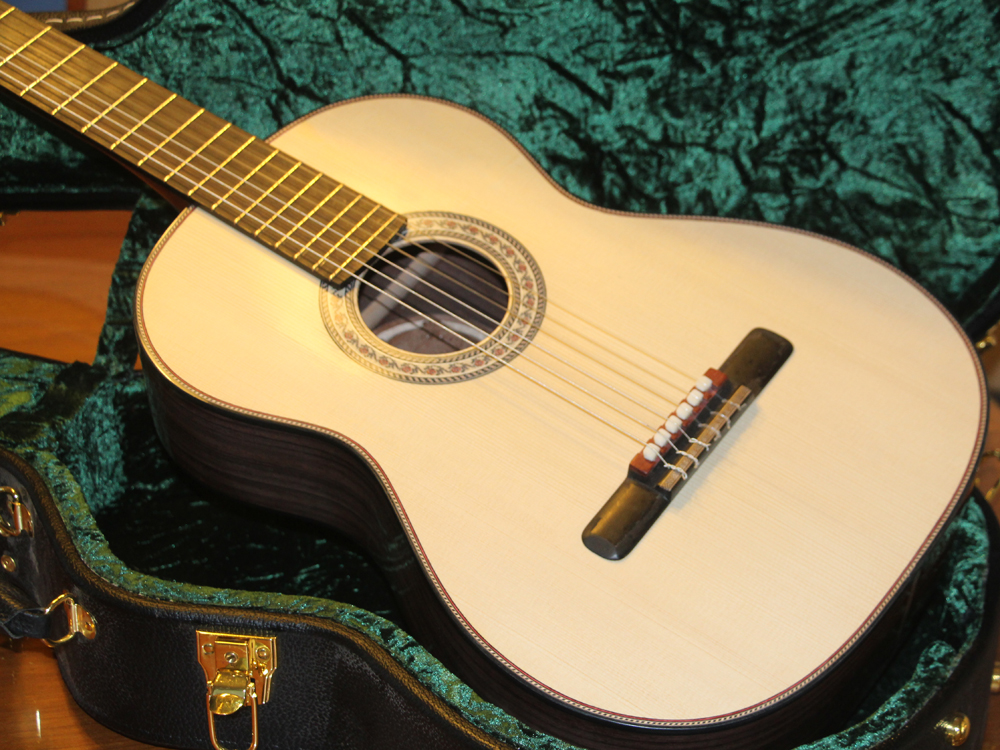
The bridge I am using is a split saddle design that allows each string to be individually intonated. Each individual saddle can be moved forward and backward until the intonation is acceptable. Here I am working on the saddle blank.
 ( 245 ) 31-Jan-2014
The saddles are moved in a saddle channel.
 ( 246 ) 31-Jan-2014
The saddles are held in place with a T-slot so they won't move when the strings are being changed.
 ( 247 ) 31-Jan-2014
 ( 248 ) 31-Jan-2014
 ( 249 ) 31-Jan-2014
 ( 250 ) 31-Jan-2014
 ( 251 ) 31-Jan-2014
 ( 252 ) 31-Jan-2014
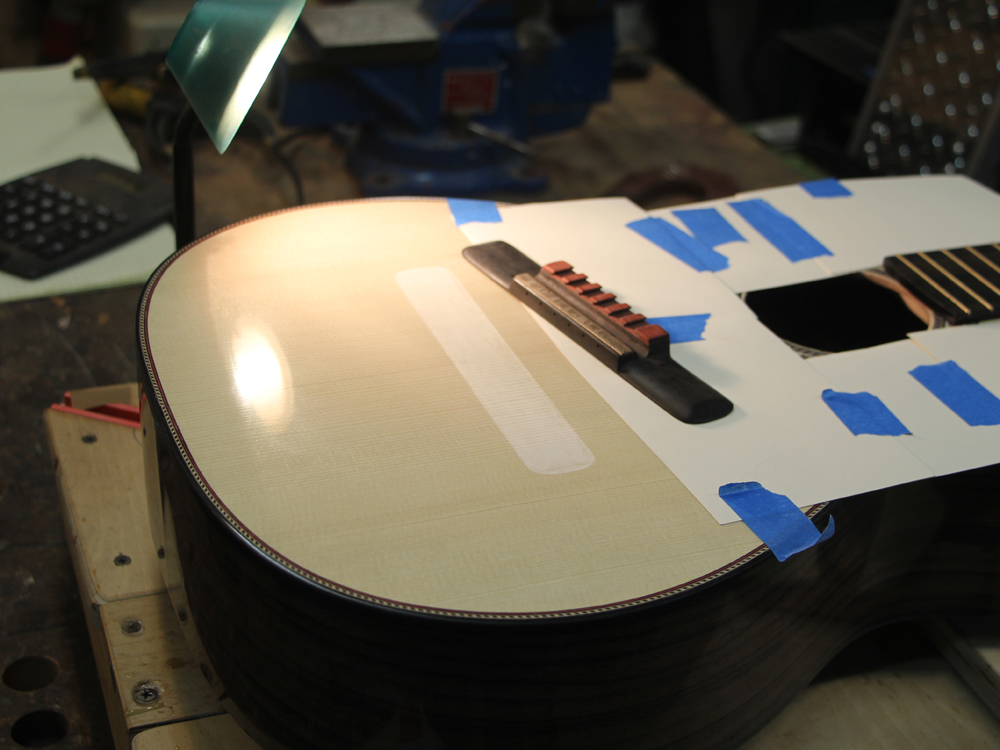
The bridge is placed on the top of the newly lacquered guitar and held in place with a long C-clamp.
 ( 253 ) 31-Jan-2014
I make sure it is in the right spot.
 ( 254 ) 31-Jan-2014
To make a good glue joint, the lacquer on the top, where the bridge is to go, needs to be removed. I start by scribing a line around the perimeter.
 ( 255 ) 31-Jan-2014
And then scrape and sand away the lacquer.
 ( 256 ) 31-Jan-2014
 ( 257 ) 31-Jan-2014
A bit of glue goes on the bottom of the bridge.
 ( 258 ) 31-Jan-2014
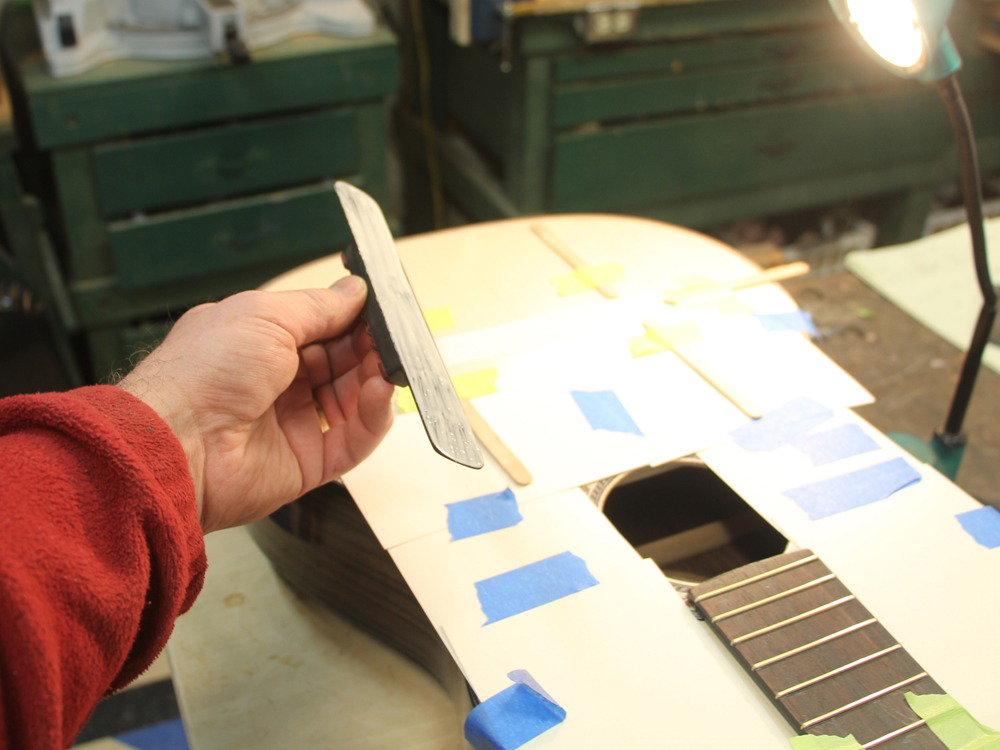
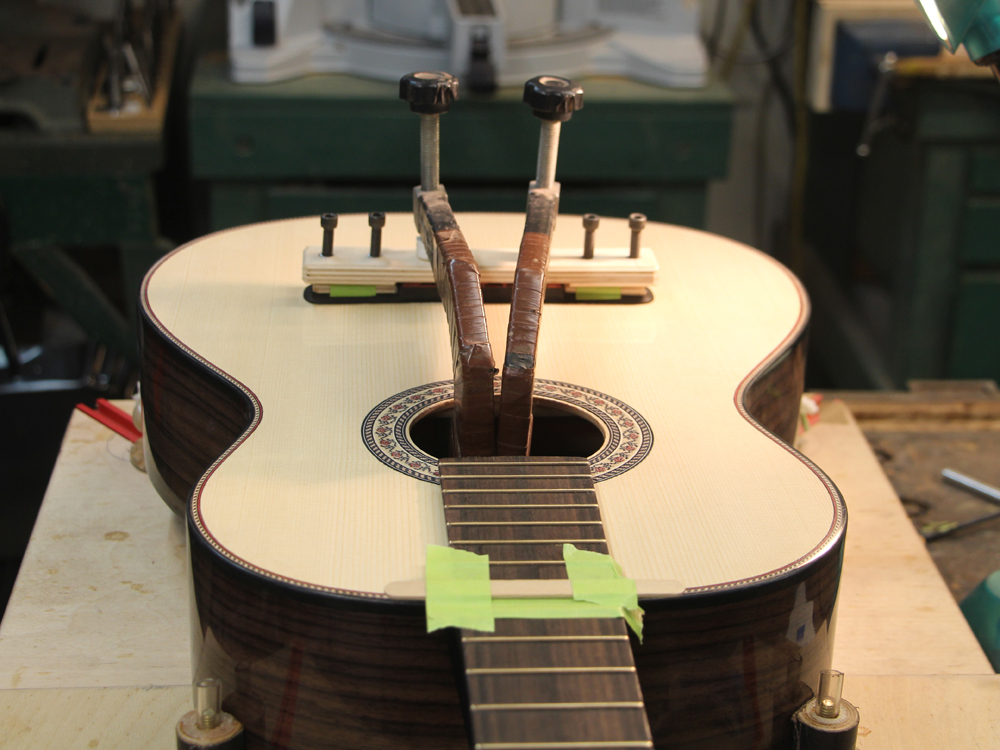
And it is glued in place with the aid of this bridge caul.
 ( 259 ) 31-Jan-2014
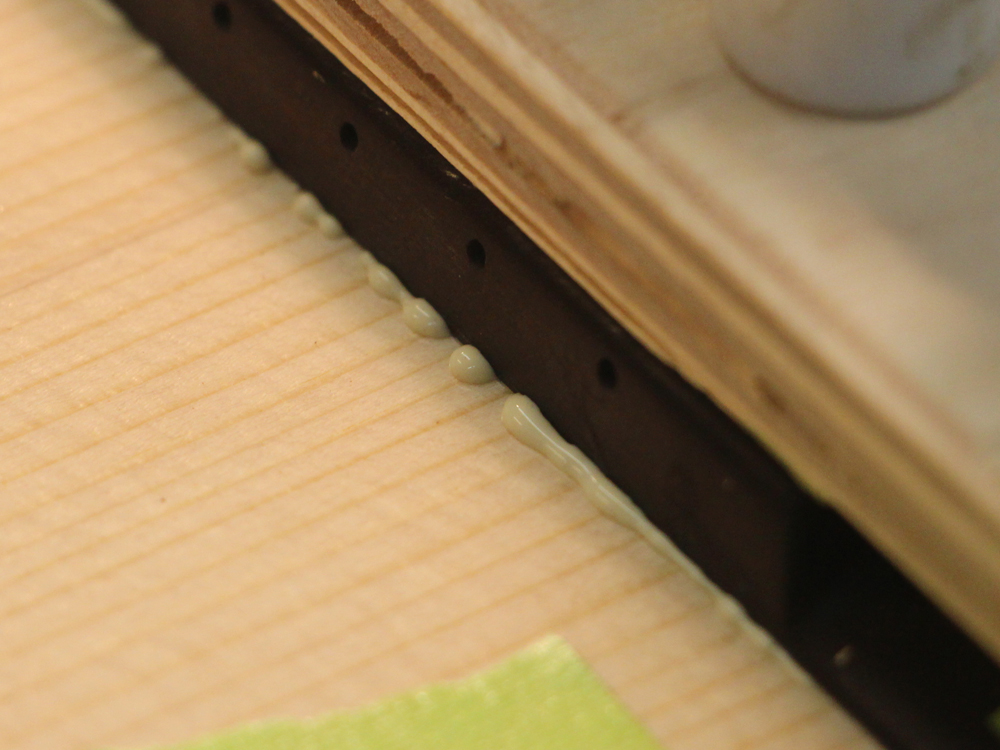
A little bit of squeeze out means I used just the right amount of glue.
 ( 260 ) 31-Jan-2014
I clean it up with a bit of water and a brush.
 ( 261 ) 31-Jan-2014
And I let it set up over night.
 ( 262 ) 31-Jan-2014
 ( 263 ) 31-Jan-2014
After a cup of coffee in the morning.
 ( 264 ) 31-Jan-2014
Setting up the bone nut.
 ( 265 ) 31-Jan-2014
The first string gets installed.
 ( 266 ) 31-Jan-2014
 ( 267 ) 31-Jan-2014
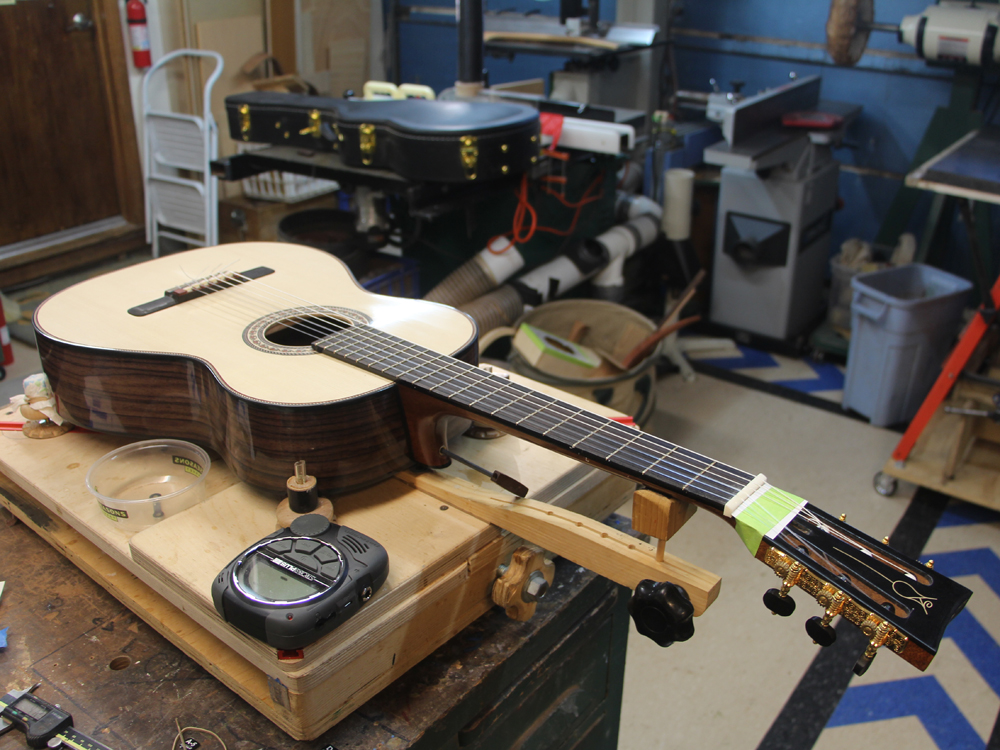
After a little fiddling around all the strings get installed.
 ( 268 ) 31-Jan-2014
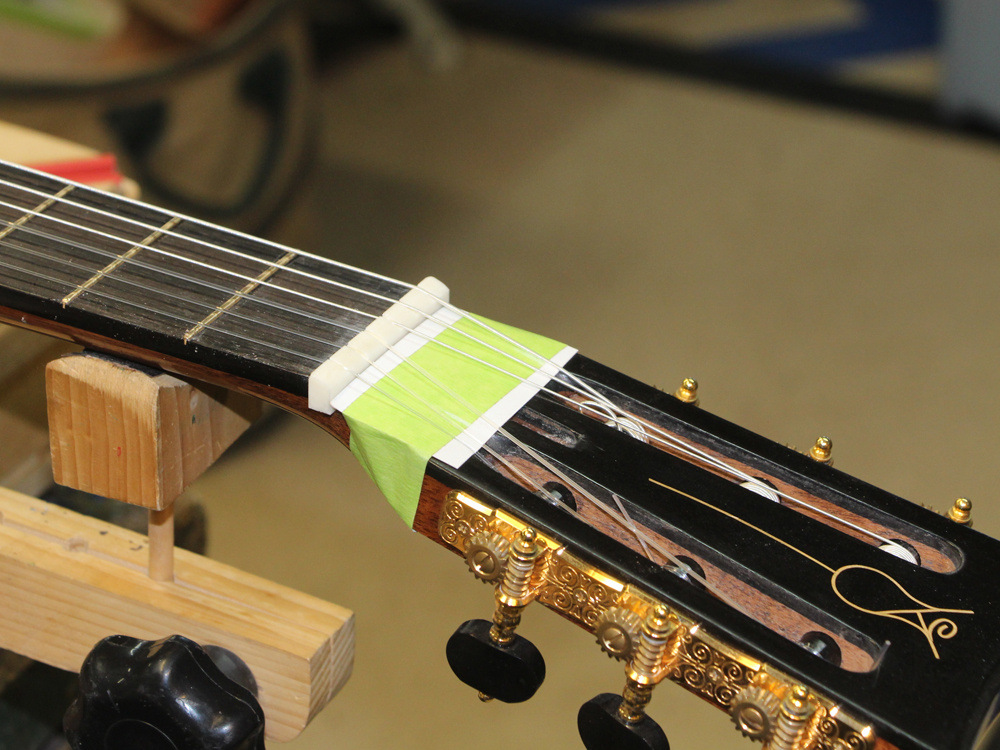
I adjust the intonation by moving the saddles in their T-slots.
 ( 269 ) 31-Jan-2014
The string slots are adjusted to set the action at the nut.
 ( 270 ) 31-Jan-2014
 ( 271 ) 31-Jan-2014
 ( 272 ) 31-Jan-2014
 ( 273 ) 31-Jan-2014